

How to Use Silicone Adhesives for Automotive Glass Replacement
Jul 19th 2023
Replacing a windshield can be a costly nightmare. Even experienced technicians know that one misstep can cause further vehicle damage. Fortunately, you can learn from other people’s mistakes.
What is the best adhesive to use to replace a windshield? What are the basic steps leading to a job well done? Who can I turn to for the best adhesives?
Read this article to learn how to use silicone adhesives for automotive glass replacement like an expert.
Use Urethane Adhesives for Windshield Replacement
Replacing a windshield can be risky if you make a common mistake: using the wrong adhesive. Steer clear of materials like bathtub caulking or silicone. Your best bet is to use products that are specifically designed for windshields. Auto technicians prefer urethane adhesives.
This type of adhesive makes sure windshield glass stays securely attached to the frame of the car in the event of an accident. Sealants can’t do that because they fill gaps, not bond objects together.
8-step windshield replacement with urethane adhesive
Step 1: Gather the tools and materials
In addition to a new windshield and urethane adhesive, you’ll probably need a utility knife, a windshield installation kit that includes a gasket, clips, and screws, a caulking gun, glass cleaner, and a lint-free cloth.
Step 2: Prepare the workspace
Park your vehicle in a well-ventilated area on a flat surface. Working in a garage or somewhere that protects you and the vehicle from the elements could make the job run smoother.
Step 3: Remove the old windshield
Cut through the existing adhesive around the edges of the windshield. Start at one corner and gently work your way around. You should be able to remove the old windshield in no time at all.
Step 4: Clean the windshield frame
Adhesive can bond better on a clean surface. Make sure the frame is free from old adhesive and dirt.
Step 5: Apply the adhesive
Using a caulking gun, apply a continuous, even bead of adhesive along the entire perimeter of the windshield frame.
Step 6: Install the new windshield
Place the replacement windshield onto the adhesive, aligning it with the frame. Press on it softly to make sure it’s nice and snug.
Step 7: Clean up excess adhesive
Don’t wait to clean adhesive that got on the vehicle. Cleaning it up now is easier than waiting until it dries.
Step 8: Let the adhesive cure
Curing times vary among products. Refer to your adhesive's directions for best results.
Use a Silicone Sealant for Windshield Repairs
Although urethane adhesives work best in the long term, minor cracks in auto glass sometimes occur without warning. Automotive silicone sealant provides a quick fix and durable seal for glass repair.
8-step windshield repair with silicone sealant
Step 1: Find the leak
Use a hose to splash water on your windshield or pour water from a cup. You can proceed when you have located the leak.
Step 2: Protect your car
Minimize paint and windshield damage by using strips of painter’s tape around the work area.
Step 3: Clean the area
You always want to apply sealant to a clean area. Look for grime, rust, and corrosion. Get rid of any that you spot.
Step 4: Repair the damaged area
Depending on the damage, this step might be optional. More often than not, you’ll have to sand down the glass and use a paint sprayer kit to fix the damaged area.
Step 5: Apply silicone sealant
Place the tube into the gap in the windshield and squeeze it. The sealant should be level with the windshield glass and frame.
Step 6: Let it cure
Wait 10 to 15 minutes for the windshield glass sealant to settle and dry.
Step 7: Remove the tape
Carefully remove all of the tape near the glass and windshield frame. Leftover tape could get trapped once the sealant dries.
Step 8: Clean up excess sealant
Give your project a professional finish by removing any remaining windshield glass sealant from the vehicle’s surface.
Essential tips
- Avoid touching your face and eyes while working with automotive silicone sealant.
- Be aware of your surroundings.
- Take your time.
- Wear safety goggles and gloves.
- Wash your hands when you finish a job.
Other Automotive Silicone Sealant Projects
Sealing leaking car parts
Repairing leaking car parts is much simpler than you might think. With the right materials and approach, you'll quickly have your car in top shape without having to take it to a mechanic.
- Identify the leak.
- Clean the affected area(s).
- Apply sealant to the affected area(s).
- Let the sealant cure.
- Test drive the vehicle to make sure the leak is fixed.
Replacing gaskets
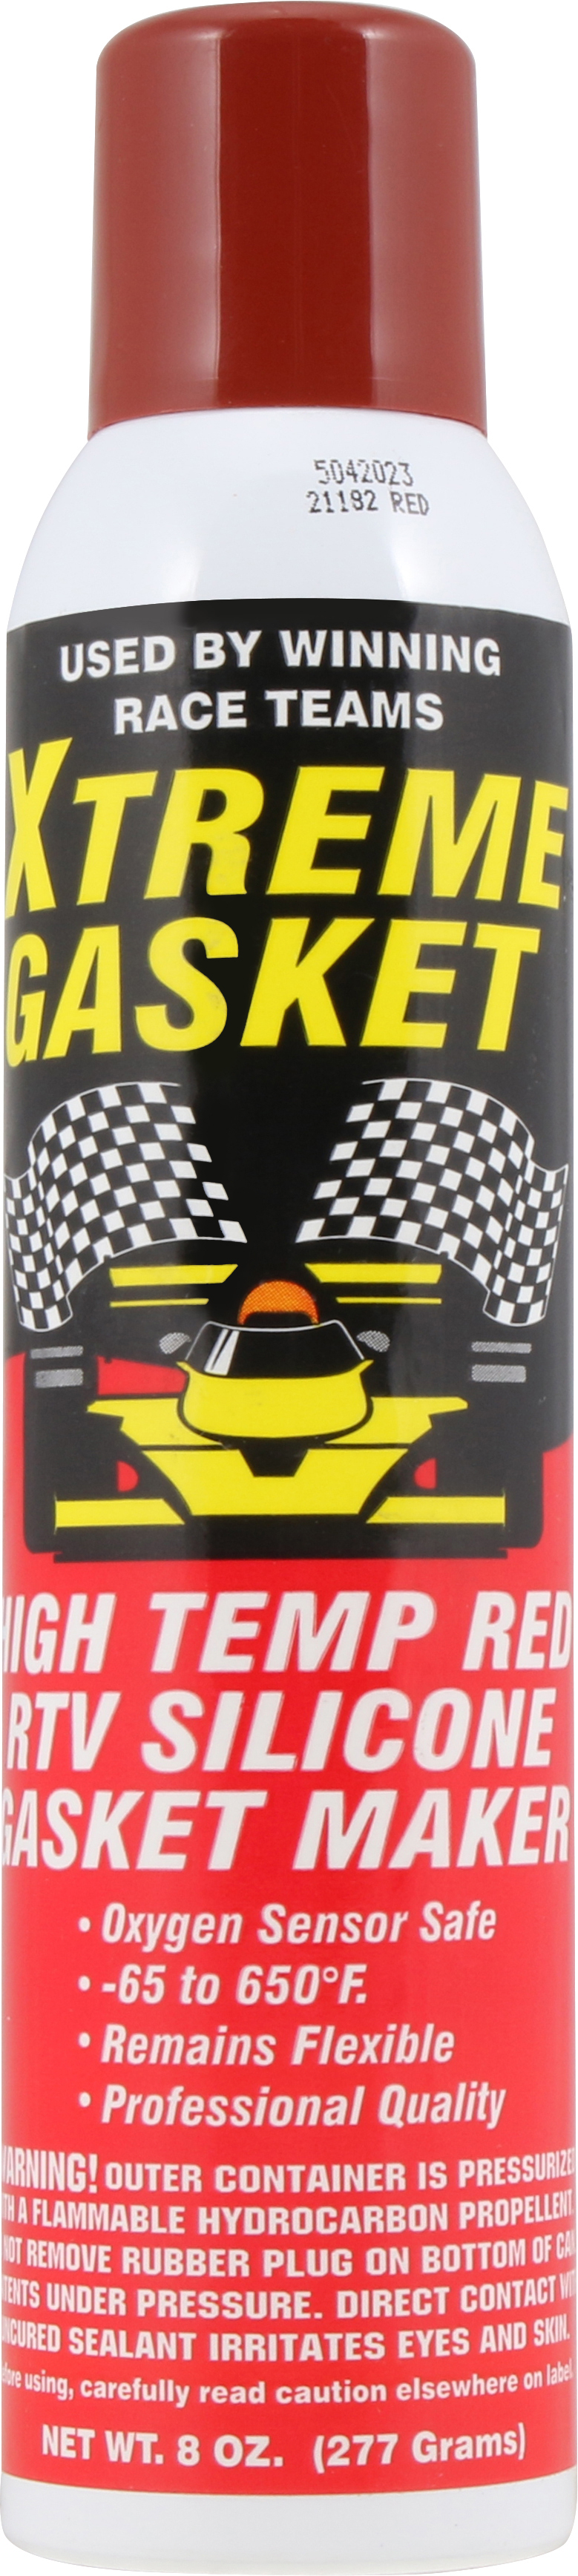
Neglecting to replace worn-out gaskets can lead to oil leaks, causing both immediate and long-term damage. You can replace the gaskets yourself without leaving your driveway. All you need are the right materials and some experience. With a high heat-resistant silicone sealant in hand, you’ll cross the finish line before you realize it.
Sealing the gap between the cylinder head and the engine block
Silicone sealants are designed to withstand the effects of heat and mechanical stress. They offer exceptional chemical resistance, even against petroleum-based substances like gasoline. They’re ideal for sealing gaps between cylinder heads and engine blocks.
Repairing cracked bumpers
Road debris, parking blocks, curbs, and speed bumps can play havoc with car bumpers. If the crack isn't too large, you can quickly fix it with the right sealant.
Make a Pit Stop at Silicone Depot
Replacing and repairing automotive glass isn’t fun, especially if you don’t have the right tools to get the job done. Silicone Depot has you covered if you need to fix a windshield leak, replace a gasket, repair a cracked bumper, or complete any other DIY project.
Our top-notch, affordable sealants and accessories are used throughout the automotive industry. Why? Because they produce long-lasting results. Confidently arrive at your final destination. Contact us with all of your questions. We’ll help get you back on the road!